






Updated 2 months ago
Plant Label Writing Surfaces: How Buyers Can Test Marker, Pencil and Chalk Compatibility
SCARECROW GARDEN SUPPLIER

Marker, pencil and chalk writing tests on PP and slate plant labels
A distributor sources 30,000 PP plant labels. The supplier’s product description says “writable surface.” The distributor assumes this means customers can write on them with any pen. The labels arrive. The distributor ships them to retail customers.
A week later, a retail customer reports that pencil marks are barely visible on the surface — the PP is too smooth for pencil graphite to grip. Another customer says her permanent marker smudges when she touches the label — the ink has not bonded to the surface. A third customer tried a chalk marker on a slate label and the writing wiped off when it rained — the surface, the chalk marker formulation, and the environmental conditions may be incompatible as a combination.
The distributor contacts the supplier. The supplier says: “We said the surface is writable. We did not say it works with every writing tool.” Technically, the supplier is right. Practically, the distributor now has 30,000 labels and a growing list of customer complaints.
“Writable” is not one single performance claim. It is a combination of three variables — the label surface, the writing tool, and the environmental conditions — that produce different results depending on how they interact. A surface that works perfectly with a permanent marker may fail with a pencil. A surface that looks great in a product photo may smudge in a greenhouse. A surface that writes cleanly in dry conditions may run when it rains.
For plant label buyers, writing performance is primarily a compatibility question, not a product quality question. The rule is simple: if your supplier says “writable” and you have not tested the surface with the actual writing tools your customers use, you have a marketing claim — not a product specification. (Illustrative example. Actual specifications, pricing, and outcomes vary by supplier, quantity, and order requirements.)
If you are still deciding between materials, start with our PP vs slate plant label comparison before testing writing performance.
“Writable” Is Not One Single Performance Claim
The word “writable” on a product spec sheet tells you that something can be written on. It does not tell you:
- Which writing tools work — A permanent marker may work perfectly; a pencil may be barely visible; a ballpoint pen may skip.
- How legible the writing is — Ink that goes on dark may fade to grey within days. Pencil that looks clear indoors may be invisible in outdoor light.
- How durable the writing is — Marker that stays on for months in a greenhouse may run with the first rain. Chalk that looks elegant may wipe off with a brush of a sleeve.
- Whether the writing can be erased — Some surfaces hold ink permanently; others release it with a damp cloth. If your customer expects to reuse the label, erasability matters.
This means “writable” is the starting point, not the answer. The answer comes from testing — and the testing needs to match how your customers will actually use the product. Writing performance is not a property of the label — it is a result of the interaction between the label, the pen, and the environment. Keep that three-variable model in mind as you work through the tests below.
Choose the Actual Writing Tools Your Customer Uses
One of the most common mistakes in writing performance testing is using the wrong tools. The buyer tests with a permanent marker from their desk drawer. The customer uses a garden pencil. The results are different — and the customer’s experience is the one that matters.
Choosing a Writable Plant Label?
Review available plant label formats before testing the writing surface. Start with the right label type and application, then evaluate how the surface performs with your intended writing method.
Writing Tool Categories
| Tool | How Customers Use It | What to Test For |
| Permanent marker | The most common writing tool for nursery and garden use — writes on most surfaces, intended to be permanent | Initial legibility, dry time, smudge resistance, water resistance |
| Garden pencil | Used by customers who want to erase and reuse labels — graphite, not ink | Initial legibility, erasability, visibility in outdoor light |
| Chalk marker | Used on slate labels for a premium, erasable look — liquid chalk, not dry chalk | Initial legibility, dry time, erasability, water resistance |
| Ballpoint pen | Some retail customers use whatever is in their pocket — not the intended tool, but a common one | Whether it writes at all; if it skips or scratches the surface |
| Gel pen | Occasionally used by customers who want finer writing — ink-based, may behave differently than marker | Initial legibility, smudge resistance, water resistance |
What to Source for Testing
If you are a distributor or retailer, you know which writing tools your customers use. If you are not sure, check the most common garden marker and pencil brands in your market and test with those. Do not test with a generic “marker” — test with the specific brand and tip size your customers will pick up.
Test Initial Legibility
The first test is the simplest: write on the label and see if you can read it.
How to Test
Write a plant name and a date on the label using normal pressure — not excessive force, not a feather-light touch.
Hold the label at arm’s length — Can you read the writing clearly? Is the line crisp or fuzzy?
Hold the label at one metre — Can you still read it? This simulates reading a label in a pot on a bench or in a garden bed.
Compare against a white surface — If the label is coloured, does the writing contrast enough with the background? White labels typically provide strong writing contrast for most marker types; darker colours may reduce contrast for dark inks.
What to Record
| Label SKU | Writing Tool | Legibility at Arm’s Length | Legibility at 1 Metre | Contrast | Notes |
| Permanent marker | |||||
| Garden pencil | |||||
| Chalk marker |
A label that passes at arm’s length but fails at one metre may be fine for bench-top use but inadequate for garden bed reading. The pass/fail depends on the application — but the test should be run for every SKU and every tool.
Test Dry Time and Smudge Resistance
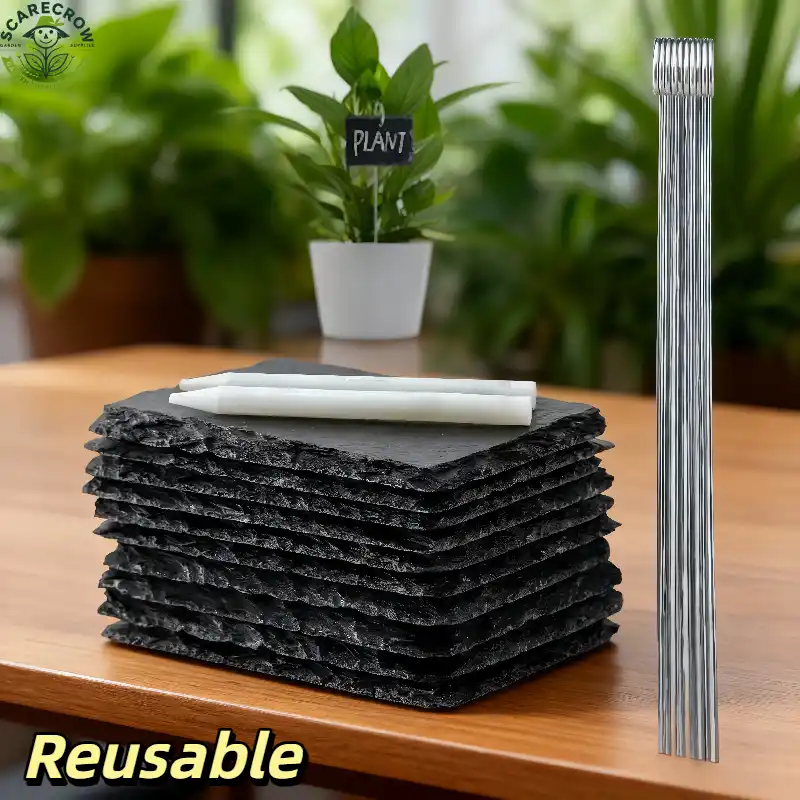
The first test confirmed that you can write and read. But being able to write is not the same as being able to touch — a nursery crew writes a label and inserts it into the pot within seconds. If the ink has not dried, the writing smudges before the label reaches the soil.
How to Test
Write on the label using normal pressure.
Wait a standard dry time — Check at 30 seconds, then again at 5 minutes and 10 minutes. These are buyer-defined comparison intervals, not industry standards. Actual dry time varies by marker brand, ink formulation, and surface finish. Pencils are immediate. Chalk markers may take longer.
Smudge test — Lightly run a finger across the writing. Does it smear? Does any ink transfer to your finger?
Repeat at 5 minutes and 10 minutes — Some inks continue to set after the initial dry. A label that passes the 30-second test may still smudge at 5 minutes if the ink has not fully bonded.
What to Record
| Label SKU | Writing Tool | Dry Time | Smudge at 30s | Smudge at 5min | Smudge at 10min | Notes |
| Permanent marker | ||||||
| Garden pencil | ||||||
| Chalk marker |
Why This Matters
A nursery crew that writes 200 labels in a session will handle each label within seconds of writing. If the ink smudges, the writing becomes illegible before the label reaches the pot. The buyer needs to know whether the surface and ink combination is fast-drying enough for the operational pace — and if not, whether a different ink formulation or surface finish would help.
Test Erasability Only When Reuse Is Intended
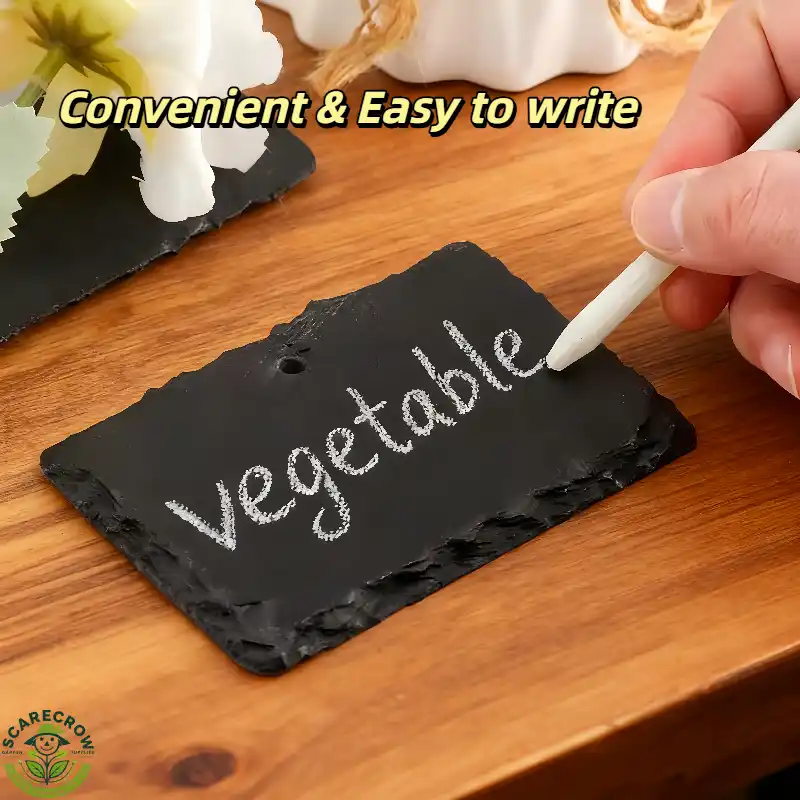
So far, the tests confirm that the writing goes on clearly and stays on when touched. The next question is whether it can come off — and that question only matters if the product is designed for reuse.
How to Test
Write on the label and allow it to dry fully (follow the dry time from the previous test).
Erase with the appropriate tool:
- Pencil: standard eraser
- Chalk marker: damp cloth
- Permanent marker: alcohol wipe (if the customer expects to remove permanent marker — many do not, and the surface may not survive alcohol)
Check for residue — Is there a “ghost” of the writing? Is the surface discoloured or damaged?
Re-write — Can you write on the same spot and get the same legibility as the first time?
What to Record
| Label SKU | Writing Tool | Eraser Used | Residue? | Surface Damage? | Re-write Legibility | Notes |
| Garden pencil | Eraser | |||||
| Chalk marker | Damp cloth | |||||
| Permanent marker | Alcohol wipe |
What Not to Promise
Do not claim “reusable” or “erasable” on the product packaging unless you have tested it with the tools your customers will use. A label that erases cleanly with a damp cloth but leaves residue with an eraser is not “erasable” — it is “erasable with a damp cloth.” The specificity matters, because the customer will use whatever eraser they have, not the one that works best.
For products intended to be rewritten or reused, review our reusable plant labels wholesale options.
Add Water and Handling Checks
The first three tests happened on a dry workbench. But labels that will be used outdoors or in greenhouses will get wet — and the question shifts from “can I write on it?” to “will the writing survive the environment?”
How to Test
Write on the label and allow it to dry fully.
Lightly spray with water — Use a standard spray bottle set to mist. Do not soak the label; simulate rain or overhead irrigation.
Wait 30 seconds, then lightly touch the writing. Does the ink run? Does the pencil mark smear?
For a stronger test, submerge the label in water for 10 seconds. Remove and check. Does the writing survive full immersion? (This is a short-term screening test, not a waterproof certification. It tells you whether the writing survives brief immersion — not whether it will survive long-term outdoor exposure.)
What to Record
| Label SKU | Writing Tool | Spray Test Result | Immersion Test Result | Notes |
| Permanent marker | ||||
| Garden pencil | ||||
| Chalk marker |
What This Does and Does Not Tell You
A water spray test tells you whether the writing survives water contact in the short term. It does not tell you whether the writing will remain legible after months of outdoor exposure. UV, temperature cycling, and biological growth (moss, algae) all affect writing durability over time — and these factors cannot be simulated in a five-minute test.
If your application requires confirmed long-term outdoor writing durability, the only reliable test is to place written labels in the actual environment and check them over time. A supplier’s claim of “UV-resistant writing” or “fade-proof ink” should be verified under your conditions, not assumed from a product description. For more detail on durability claims and how to verify them, see our guide on waterproof, UV-resistant and fade-resistant labels (Article 17).
For the broader sample-approval workflow, use our plant label sample evaluation guide.
Build a Simple Comparison Sheet
The goal of all this testing is not to generate a laboratory report. It is to build a simple, visual comparison that tells you which writing tools work on which surfaces — and which combinations to avoid.
Template
| Label SKU | Material | Surface Finish | Writing Tool | Initial Legibility | Dry Time | Smudge | Water | Erase | Overall |
| PP | Matte | Perm. marker | |||||||
| PP | Matte | Pencil | |||||||
| PP | Glossy | Perm. marker | |||||||
| Slate | Natural | Chalk marker | |||||||
| Slate | Natural | Pencil |
Fill in each cell with Pass / Fail / Notes and attach photos. This sheet becomes your internal reference for which writing tools to recommend for each SKU — and which combinations to warn customers about.
How to Use the Results
- Product listing — State which writing tools work best. “Best with permanent marker” is more useful and more honest than “writes with any pen.”
- Customer communication — If a customer asks “can I use a pencil?”, you have an answer based on testing, not assumption.
- Supplier feedback — If a surface fails across multiple writing tools, the surface finish may need adjustment. Share the test results with the supplier — specific data is more actionable than “the writing does not work.”
- SKU rationalisation — If two SKUs have identical writing performance, the difference between them may not justify carrying both. If one SKU outperforms another across all tools, consider consolidating.
What Buyers Should Specify in an RFQ
If writing performance is a key requirement for your product, say so in the RFQ — before the order, not after the labels arrive.
| Information Item | Your Input |
| Writing tools used by your customers | List the specific brands and types (e.g. permanent marker brand common in your market, pencil brand common in your market, chalk marker) |
| Required writing performance | “Must be legible at 1 metre” / “Must survive overhead irrigation” / “Must be erasable with damp cloth” |
| Reuse requirement | Single-use / reusable with specific eraser |
| Environment | Greenhouse / outdoor / indoor — affects ink and surface requirements |
| Writing surface finish | Matte / glossy / natural stone — if you have a preference based on testing |
| Sample testing | Request samples and run the writing test before bulk order |
| Expected quantity | Total pieces — affects whether the supplier can adjust surface finish for the order |
The more specific you are about writing requirements, the more likely the supplier is to deliver a surface that works — rather than a surface that is technically “writable” but practically inadequate for your customers.
Which Writing Tool Matters for Your Market?
Share the marker, pencil or chalk type that matters for your market. The writing surface can then be reviewed against the tool your customers are actually expected to use.
From Test Results to Product Claims
Testing is only half the job. The other half is putting the results where they matter: on the packaging, in the listing, in the customer communication. Instead of writing “writable” on the pack — which tells the customer nothing — write what your tests showed: “Best with permanent marker; pencil may have low contrast on glossy surface.” Instead of claiming “erasable” — which raises expectations you may not meet — write “Erases cleanly with a damp cloth; permanent marker is not removable.”
Your test results are more specific, more honest, and more useful than any supplier’s marketing word. A label that has been tested is a label you can stand behind — because you know exactly what it does, with which tools, and under what conditions. A label that has only been described as “writable” is a label you are hoping about.
Verify Writing Performance Before Bulk Approval
Test the actual label surface with the writing tools used in your market. Use physical samples to check practical writing performance before confirming the final product specification.
Related Articles
How to Choose PP Plant Labels for Nursery & Retail
Slate Plant Labels Buying Guide for Bulk Orders